Likely cause
A weak layer, contamination or poor adhesion beneath the visible coating.
The Craft Lab · preparation made visible
Ten interactive studies make the decisions beneath a professional finish visible, from diagnosing failure and testing compatibility to protecting an occupied home.
Interactive material study · timber window
Start with the shortcut, then move through the preparation sequence. Each stage explains what changes, and why it matters.
01 / 05
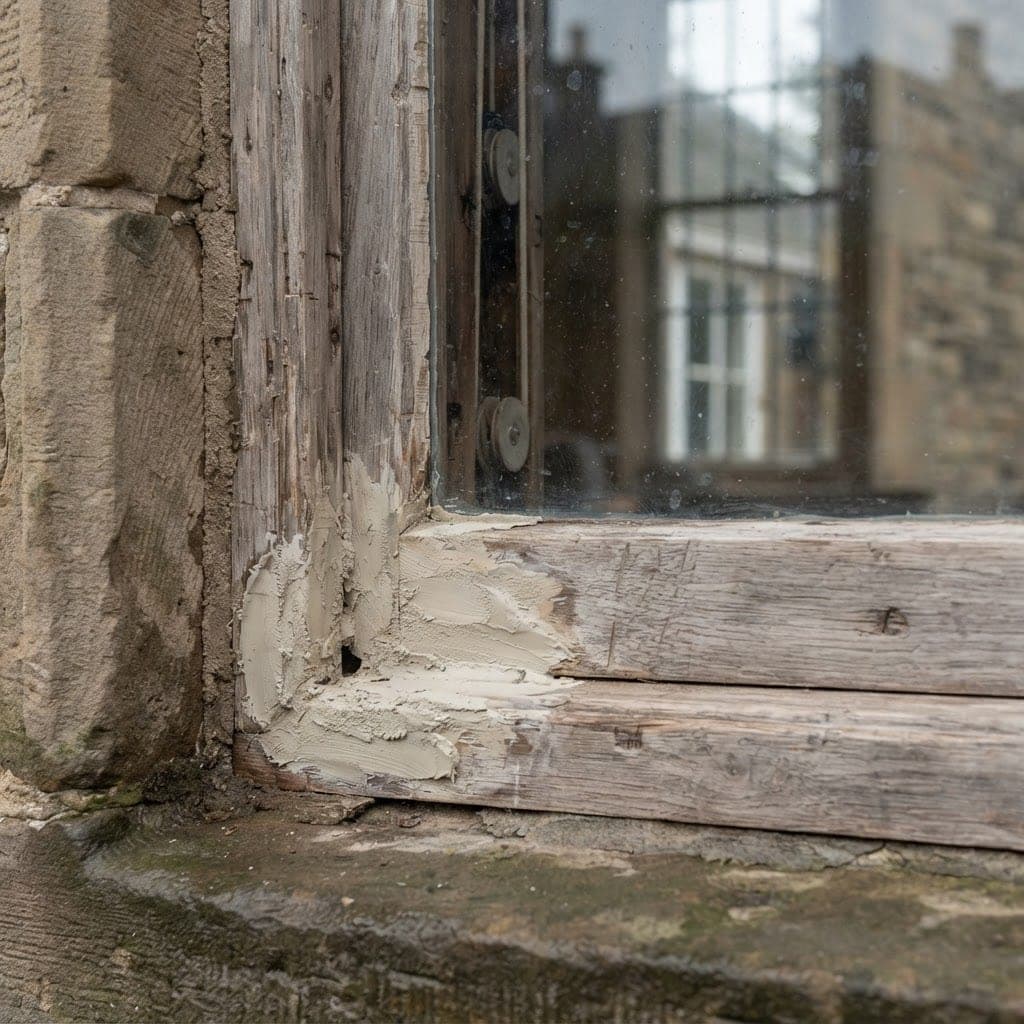
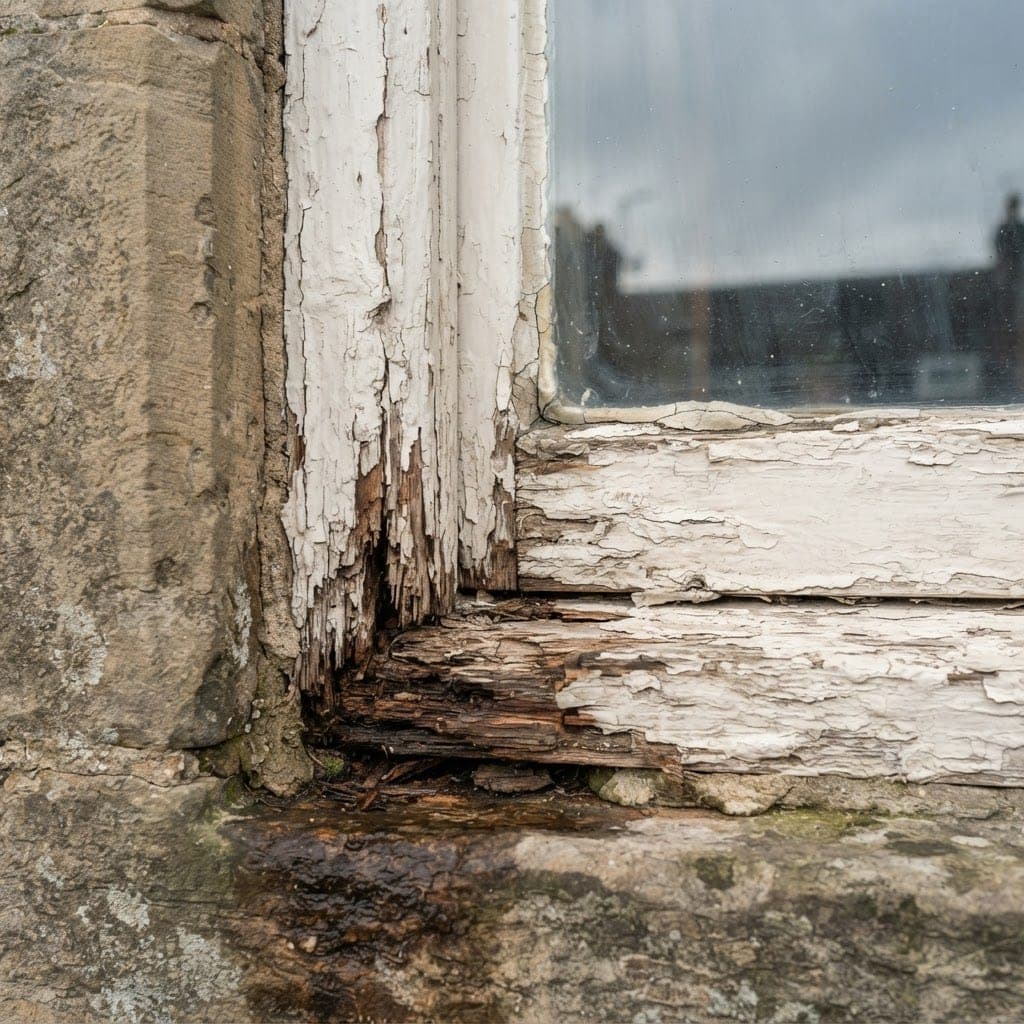
One finishing coat over an unsound surface
It looks covered from a distance, but failed paint, open joints and soft timber remain underneath. The new coating has nothing reliable to hold on to.
Likely result: early cracking, trapped moisture and repeat failure.
02 / 10
Substrate diagnostic
Choose what you can see. The important work is deciding what sits behind it.
Likely cause
A weak layer, contamination or poor adhesion beneath the visible coating.
Investigate
Test beyond the loose edge, identify every coating layer and check whether the substrate is sound.
Why paint fails
New paint bonds to the failing layer, so old and new coatings release together.
03 / 10
Beneath the finish
Move the control to reveal the work held beneath a completed surface.
1 of 6 layers revealed
Colour, cleanability and final appearance.
04 / 10
Finish selector
Compare the practical differences, then judge each finish in context.
Walls
Watch: Still needs a sound, even substrate; durable does not mean indestructible.
05 / 10
Colour under light
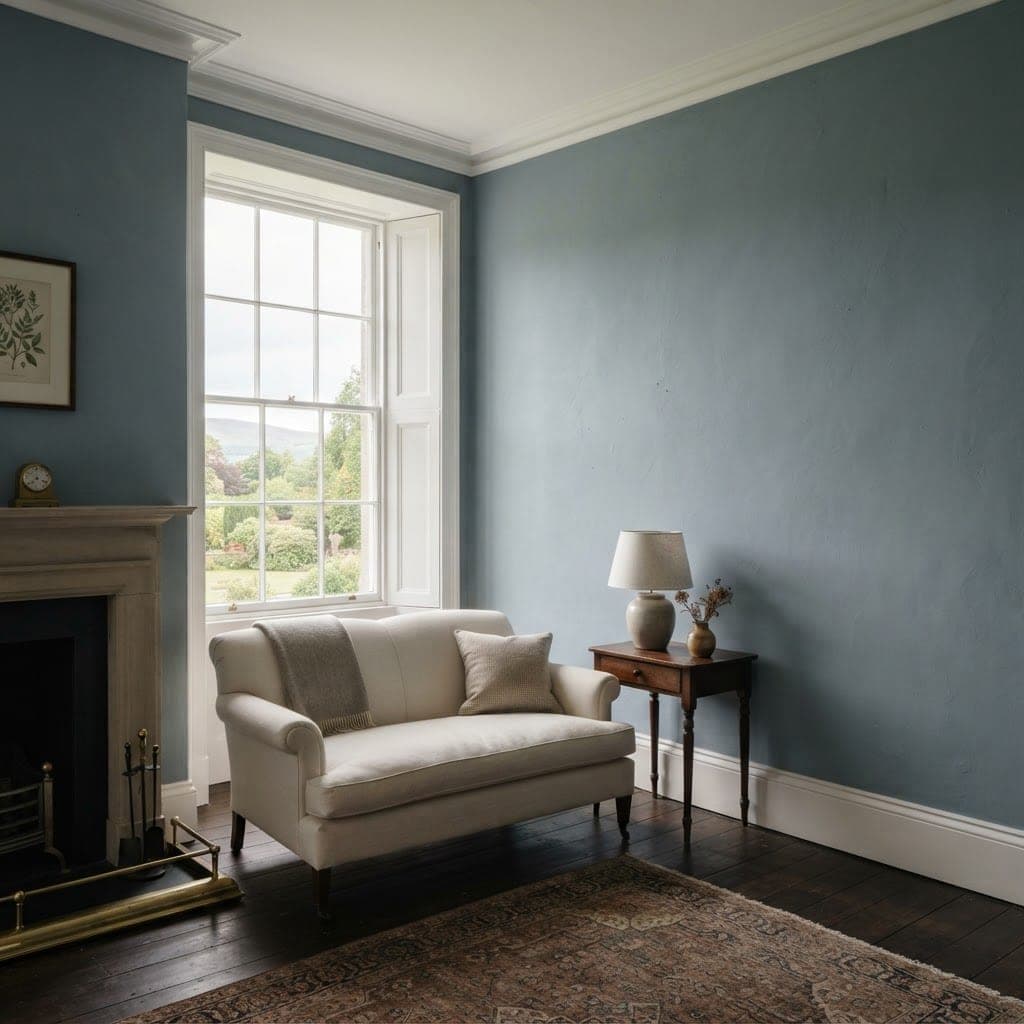
Change the light and watch the undertone move. This is why we test in the actual room.
Current condition
Cool, indirect light can draw blue and grey undertones forward and make warm neutrals feel quieter.
Use the screen for an initial idea, then check painted samples on more than one wall, at different times of day and beside the flooring and furniture that will stay.
06 / 10
Protection planner
Select each zone to see how an occupied home is kept usable and protected.
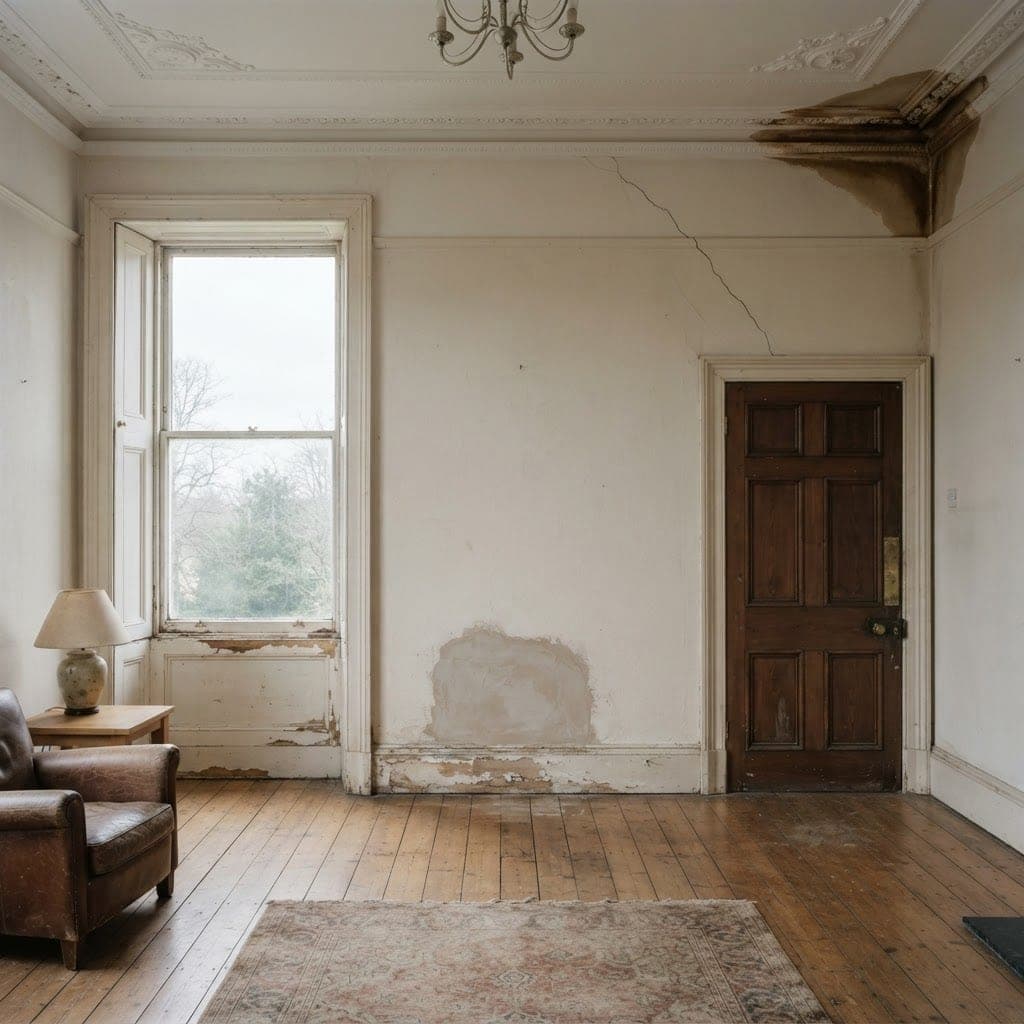
Fitted protection selected for the floor type, taped without damaging the finish and checked through the project.
07 / 10
Defect hotspot survey
Five small clues can change the preparation, programme and products required.
Your survey
Select a numbered hotspot to reveal what should be checked before work begins.
08 / 10
Exterior weather test
Compare coating first with checking, repairing and priming first.
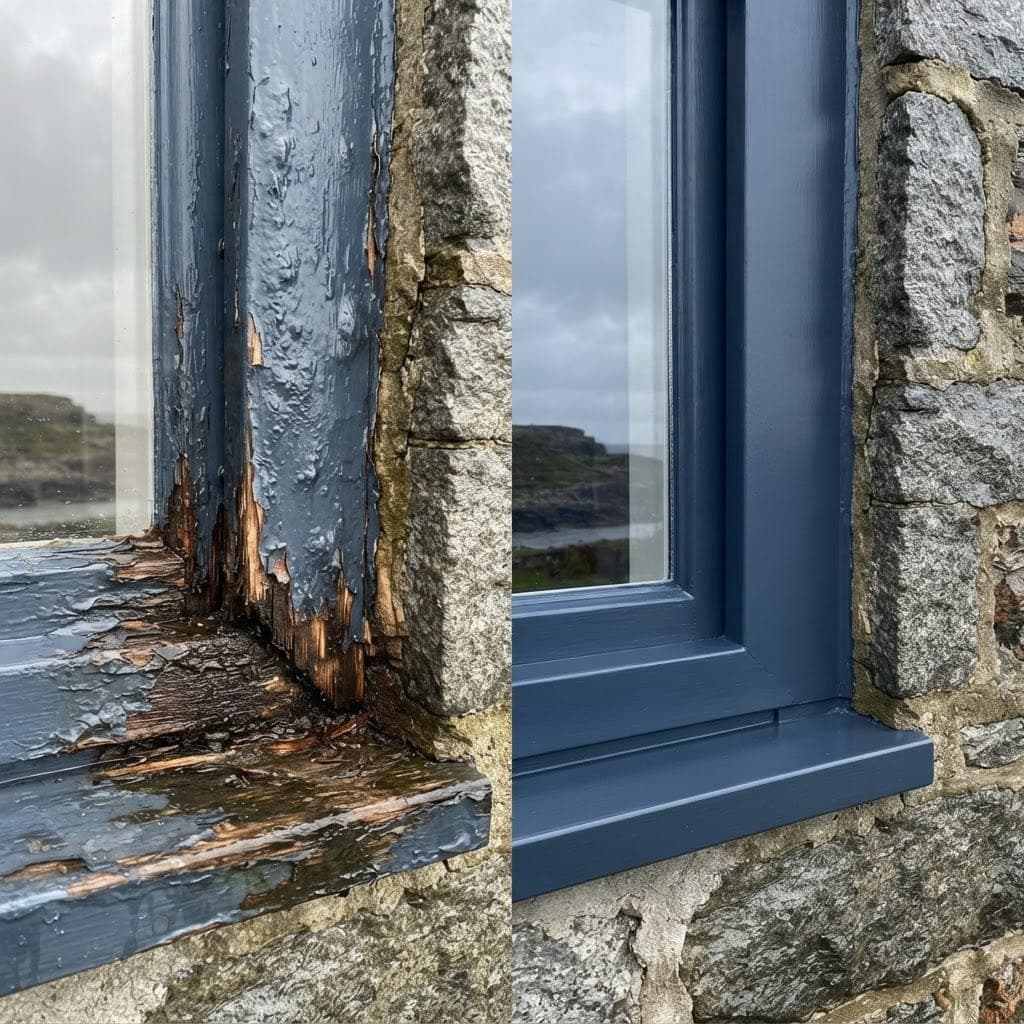
Paint over the problem
A fresh film may look complete initially, while moisture and open defects continue to work beneath it.
Coating damp timber can trap water and undermine adhesion from beneath.
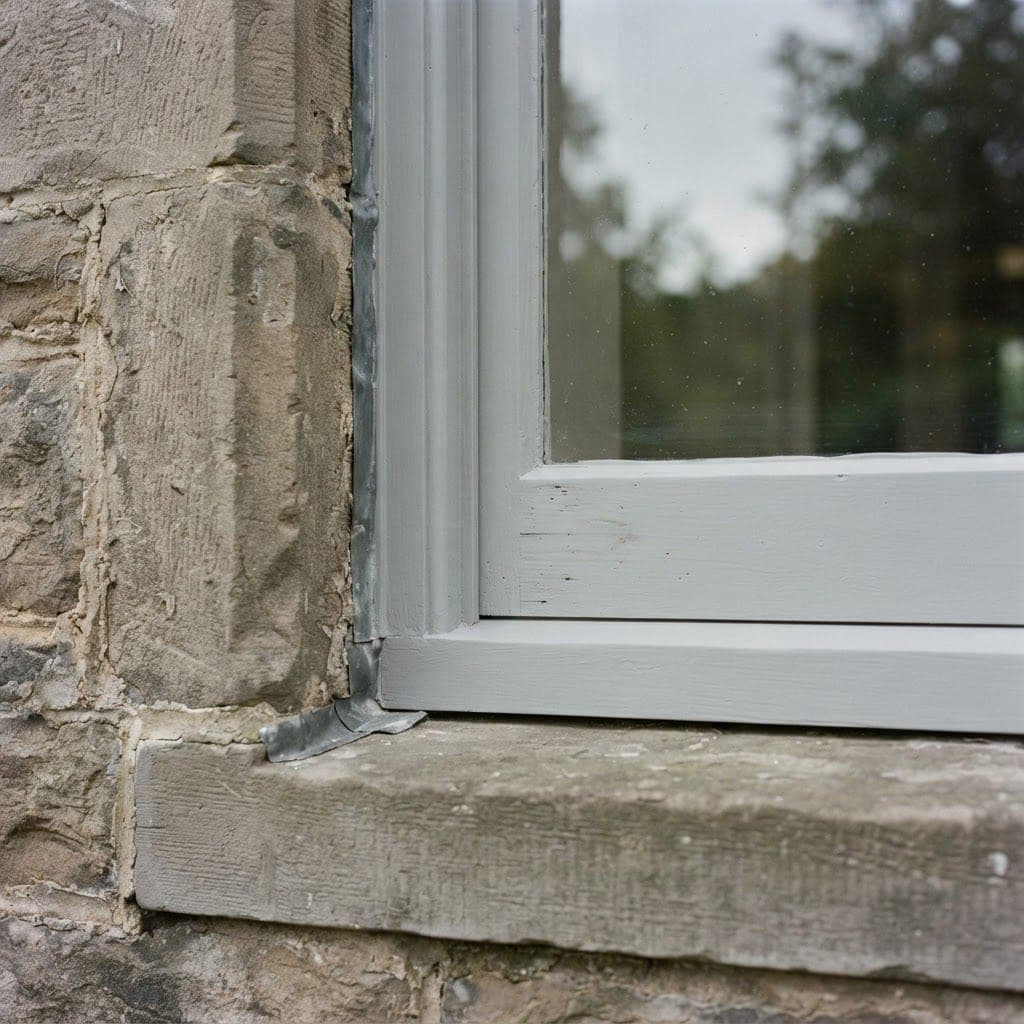
Water paths are repaired with a method suited to movement and exposure.
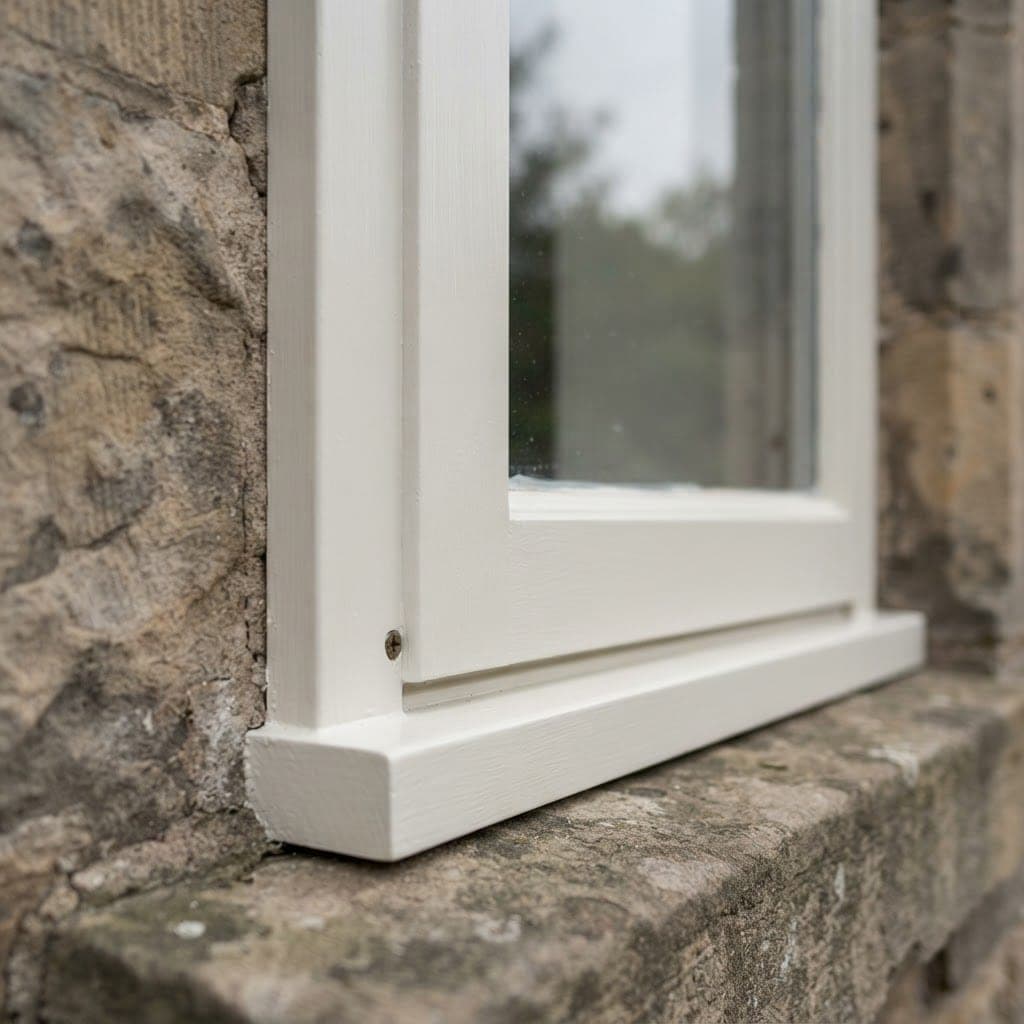
Exposed end grain and local repairs receive the correct primer before build coats.
Temperature, rain, dew point and drying time all affect when exterior work is viable.
09 / 10
Kitchen repainting workshop
Step through the controlled sequence behind a durable cabinet finish.
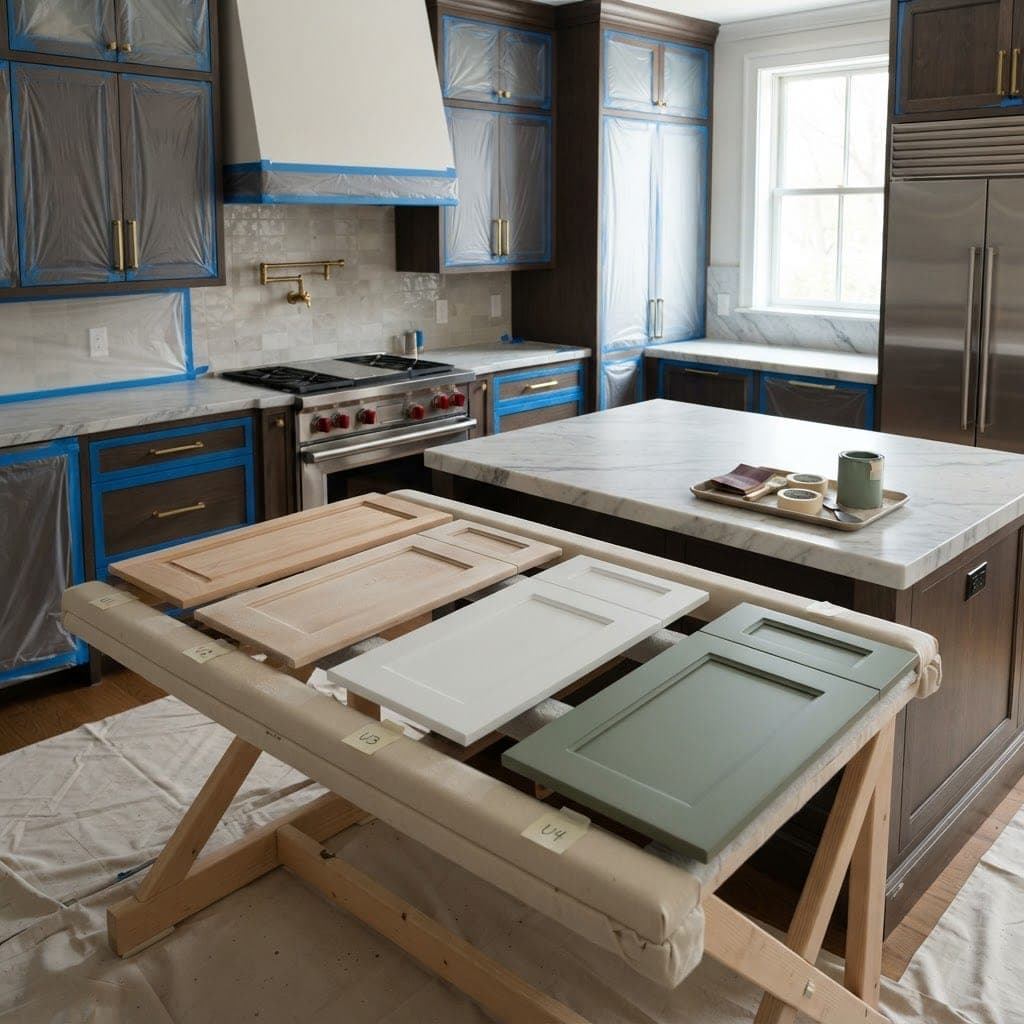
Stage 1 of 6
10 / 10
Material compatibility lab
Pair an existing surface with a proposed coating to expose the checks between them.
Assessment
Clean, test adhesion, abrade sheen and repair defects before recoating.
Required checks: Crosshatch adhesion test · contamination check
This laboratory explains specification logic; it is not a substitute for inspecting the actual substrate or following the coating manufacturer’s current technical data.
Diagnosis before decoration
Persistent moisture, failed seals and water paths need to be understood before a coating system is chosen.
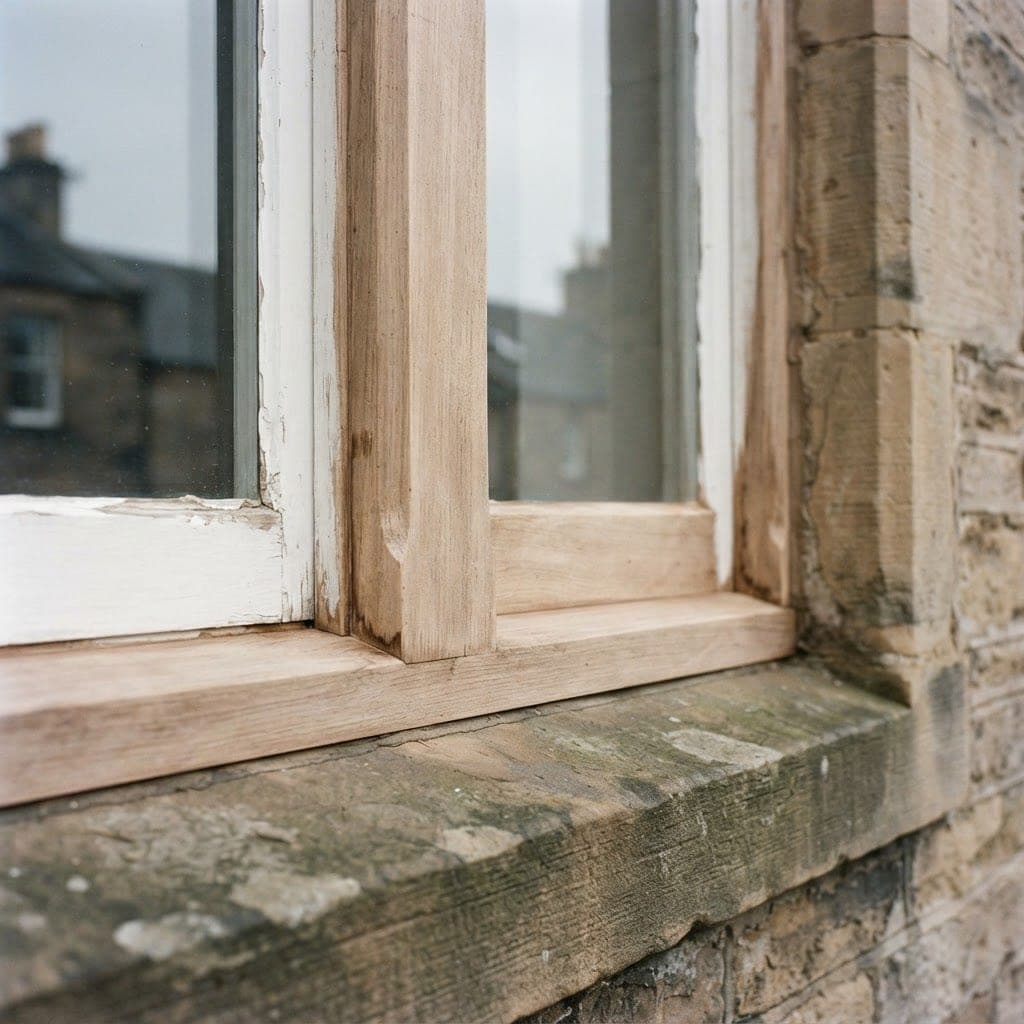
Loose paint and soft timber are removed far enough to find a sound edge, not feathered into failure.
Primer and finish must suit the timber, retained coating, exposure and intended maintenance cycle.
Where decay is structural or too extensive for a durable local repair, joinery advice or replacement may be the honest answer.
Your property decides the system