Paint lifting at the sill
Exposed end grain, standing water or failed joints can let moisture beneath the finish. The cause needs attention before another coat.
Specialist timber window repair · St Andrews & Fife
Flaking paint and a weathered sill do not automatically mean a window has reached the end of its life. I assess the timber beneath the coating, identify where moisture is entering and establish what can sensibly be retained before agreeing a repair and repainting specification.
Assessment first. Local repairs where suitable. A compatible painted finish, with the scope agreed in writing.
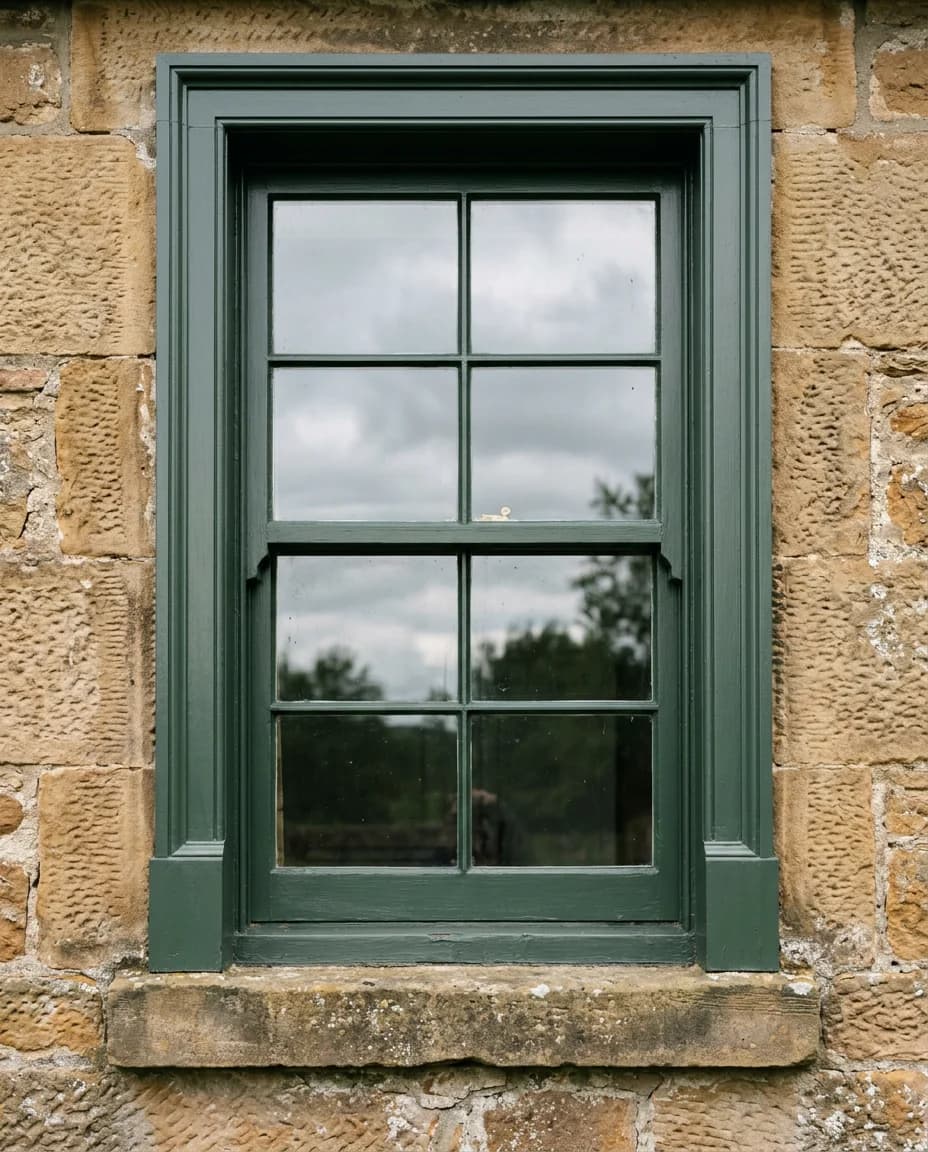
Read the surface
The visible damage is a starting point, not a diagnosis. These are the details I look at before recommending work on your windows.
Exposed end grain, standing water or failed joints can let moisture beneath the finish. The cause needs attention before another coat.
Local decay may be repairable when there is enough sound timber around it. Its depth and position matter more than how small it looks.
Gaps around joints and glazing can admit water. I distinguish preparation work from repairs that need a joiner or glazier.
Paint build up, moisture movement and failing components can all affect operation. Sanding indiscriminately is not the answer.
Preserve where it makes sense
Keeping sound timber can preserve the proportions and detail of your home. But safety, remaining strength and the cause of damage matter more than saving a component that has failed.
From assessment to finish
Eight stages, with a reason for each. The exact method is specified after inspection. Not every defect needs every treatment, and hidden damage can change the scope.
This describes the service, not a universal DIY method. Old coatings, glass, access at height and certified components need appropriate assessment.
Arrange an assessmentI check the frame, sashes, sill, lower joints and coating edges, not just the most obvious patch. Opening, closing, exposure and access are considered alongside the visible timber condition.
The check: Confirm what is sound and what needs further investigation.
Failed glazing details, open joints, blocked drainage or a defect above the window can keep timber wet. Moisture checks and the repair system requirements guide when the work can proceed. Unresolved water ingress comes first.
The check: Do not enclose damp timber beneath a new finish.
Glass, stonework, floors and the room are protected. Older coatings are assessed for lead before disturbance. Preparation follows the risk assessment, with appropriate containment, extraction and waste handling rather than uncontrolled dry sanding.
The check: Agree access, dust control and safe working arrangements.
Loose coatings and unsound material are removed only to the extent required for a sound repair. I retain sound profiles and existing fabric wherever possible. If opening up reveals deeper decay, the scope is reviewed before continuing.
The check: Keep sound timber. Stop if the defect exceeds the agreed repair.
Where appropriate, a compatible timber repair system is used within its limits for moisture, depth and application. The sill profile and water shedding details must be retained. Larger timber inserts or joint reconstruction require a suitable joiner, not a deeper layer of filler.
The check: A repair must suit the defect, not simply conceal it.
Agreed minor glazing putty work is considered only where the glass is secure and the system is compatible. Loose glass is referred to a glazier. Drainage paths, movement joints and working clearances are kept functional.
The check: Do not seal drainage routes or bridge moving parts.
Bare timber and repairs receive the specified primer. Undercoats and finish coats follow the manufacturer requirements for compatibility, drying and weather. Where specified, the glazing edge is finished to shed water rather than leave an exposed junction.
The check: Follow the whole coating system, including the edges.
Once the coating permits safe handling, I check that the agreed opening parts work without fresh paint sticking. The handover records colour, products, sheen and particular areas to monitor.
The check: Leave an opening that works, with a clear maintenance record.
Beyond the repair
These receive the worst of the water and sun. Their condition, profile and end grain protection deserve particular attention.
The repair material, primer and finish need to work together. A premium topcoat cannot compensate for an unsuitable background.
Rain, surface moisture, temperature and drying time determine the sequence. Coastal exposure makes that judgement particularly important.
Before you enquire
The right advice depends on the surface in front of us. These are useful starting points.
No. Sound frames with local defects may be suitable for repair and repainting. Widespread decay, insecure glazing or serious mechanical problems need a different assessment. I will explain the limits of the decorating repair rather than promise to save every window.
Sash mechanisms, substantial joinery and glass replacement are not included in this decorating repair service. Where these are needed, they should be assessed by a suitable joiner or glazier before the finish is completed.
Some defects around fixed joints can be addressed, but draughts may come from working clearances, seals or mechanical faults. A decorative repair is not a promised draught proofing or thermal upgrade.
Retaining original material can be important, but the permitted work depends on the building and its status. Check with the local planning authority before alterations or material changes. Consent and specialist advice may be needed even when the intention is repair.
Photographs help with an initial discussion, but do not establish the depth of decay or moisture condition. A firm scope follows assessment. Any hidden damage found during preparation is discussed before additional work is agreed.
Start with what is there
Send a few details about your windows. I will help establish whether a decorating repair is a sensible next step or whether another trade needs to assess it first.
Discuss your windowsIf sharing photographs, include an overall view and close views of the affected areas. Please do not climb or disturb loose paint to take them.
Specialist timber care
Windows, doors, staircases and original joinery. Explore careful repairs, considered refinishing and exterior maintenance, with the existing timber and its condition guiding every decision.
Timber window repairs and repainting in St Andrews and Fife. Assess local decay, failed coatings and weathered sills before deciding to replace.
Explore the service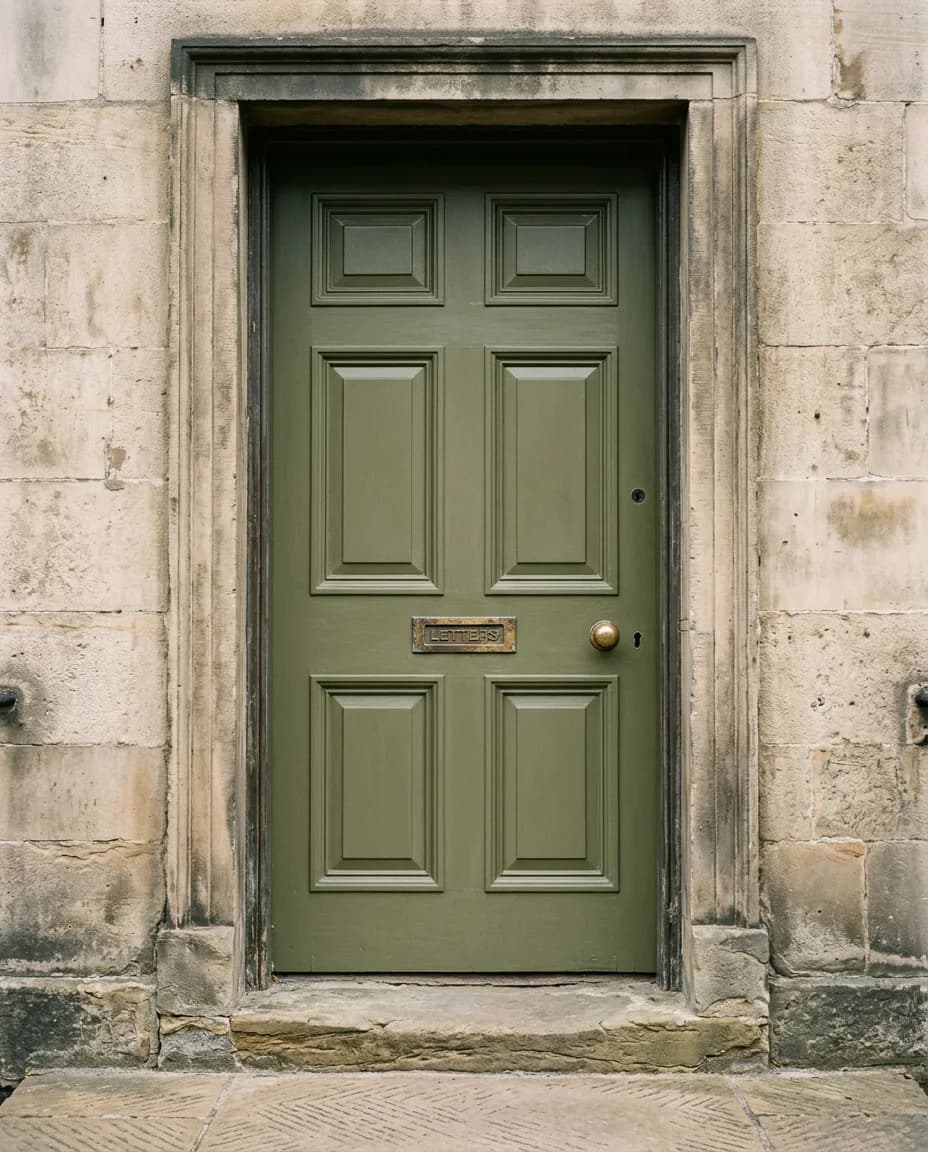
Timber door repair and repainting in St Andrews and Fife. A practical route to preserving sound doors, from assessment and local repair to a durable finish.
Explore the service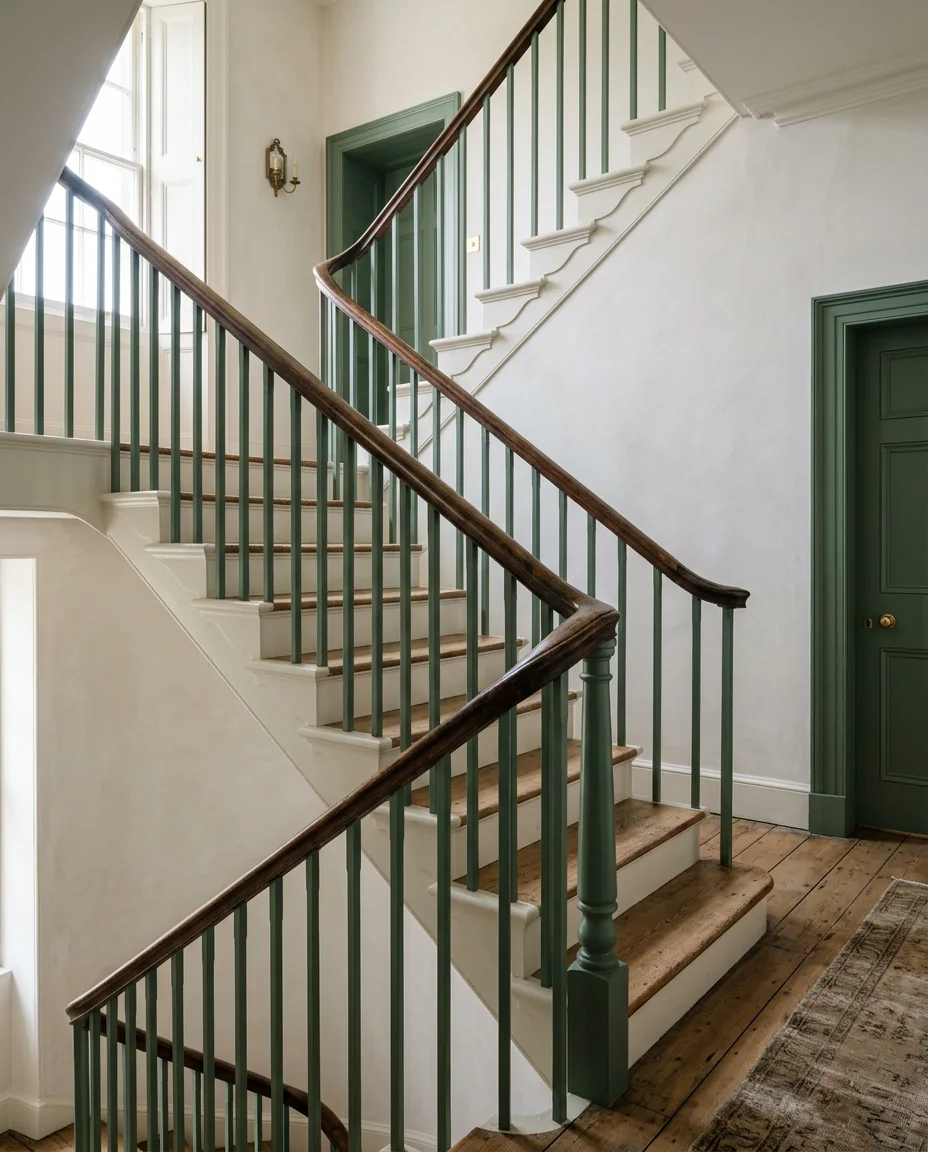
Staircase refreshing in St Andrews and Fife. Careful preparation and refinishing of sound timber stairs, handrails, spindles and painted risers.
Explore the service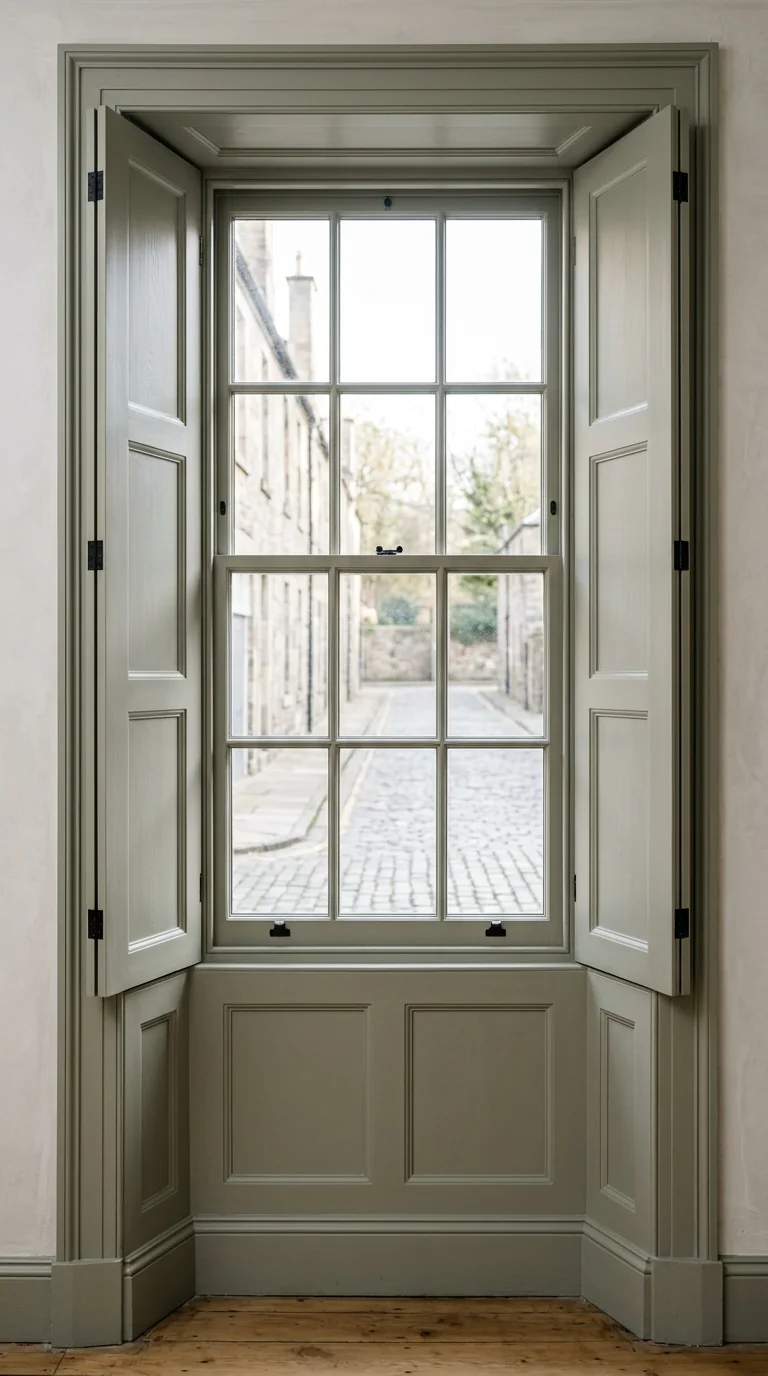
Period shutter and panelling refinishing in St Andrews and Fife. Sensitive preparation, local decorative repairs and carefully specified painted finishes.
Explore the service
Exterior timber maintenance in St Andrews and Fife. Condition checks, targeted preparation and suitable coatings for exposed exterior joinery.
Explore the serviceSuitability and scope are confirmed after assessment.